Top 5 things you need to broadcast on a budget
by George Drake, Jr. | August 25, 2015
As an amateur podcaster with small pockets, I know how difficult making a quality audio program can be. I’ve spent a fair amount of money on high-quality accessories, but I still have nowhere close to a professional studio. Many people resort to what they have: Cell phones and laptops as microphones and “quiet spaces” like garages or basements as studios. While these work out just fine for some people, here’s my list of five things I see as “must-haves” for creating a broadcast-ready podcast or radio show:
1. A (Decent) Microphone or Recorder
I want to stress the word “decent” here. It doesn’t take a $3000 microphone to sound good. A personal recorder, or a relatively inexpensive microphone is many cases is just fine. I use something that many people in the broadcasting industry scoff at because it doesn’t sit on the same pedestal as many other options out there, but what matters is what comes out of it. I’ve created radio pieces that have been bought by public radio stations, and even won regional, national, and overseas awards with equipment many wouldn’t even consider.
I’ve included what I use below, along with 2 other options from the same company at different price points. I’ve also included one I haven’t used myself, but have heard good things about.
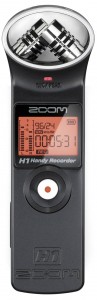
Zoom H1 Handy Recorder ($100-$150)
The Zoom H1 is a good option for first-timers. It’s cheap, easy to use, and (for what it is) provides a pretty quality sound. The two microphones at the top are facing different directions, which provides a stereo field for recording. Think of the right (front) one as your left ear, and the left (back) one as your right. Essentially, whichever way the mic is facing is the direction it will record. For recording voices inside, it’s best to record in mono as opposed to stereo — this is something that you can change in the recorder’s settings. When buying the H1, it should come with a foam windscreen, handle (mount on the flip side of the picture), and case. Handling the recorder will make noise, as it has a plastic, non-absorbing body, and while the handle eliminates some of those fumbling noises, there still is noise. Stillness is key when holding it. There are other options that come with more accessories, but sometimes they’re cheap and not worth the extra money.
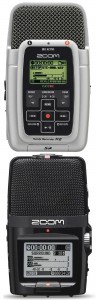
Zoom H2 or H2N Handy Recorder ($100-$200)
The Zoom H2 or H2N are also both good options for first-timers, but there’s a little more to the H2 recorders than the H1. For starters, there are four built-in microphones as opposed to two: Two on the front, and two on the back. The ones on the front have a 90-degree recording field (good for interviews), and the ones on the back have a wider field, so they can capture more sound (better for field/music recording). What’s nice is they can either be used on their own, or all at once (enabling round table discussions). Unlike the H1, these are intended to be used like an old-school microphone — talking into it from the side rather than pointing it horizontally at what’s being recorded. All Zoom recorders use SD cards, so space is up to you. These also come with foam windscreens, handle (mount on the bottom, not flip side), and case of some sort. Again, other options are available, but they may not be worth it.
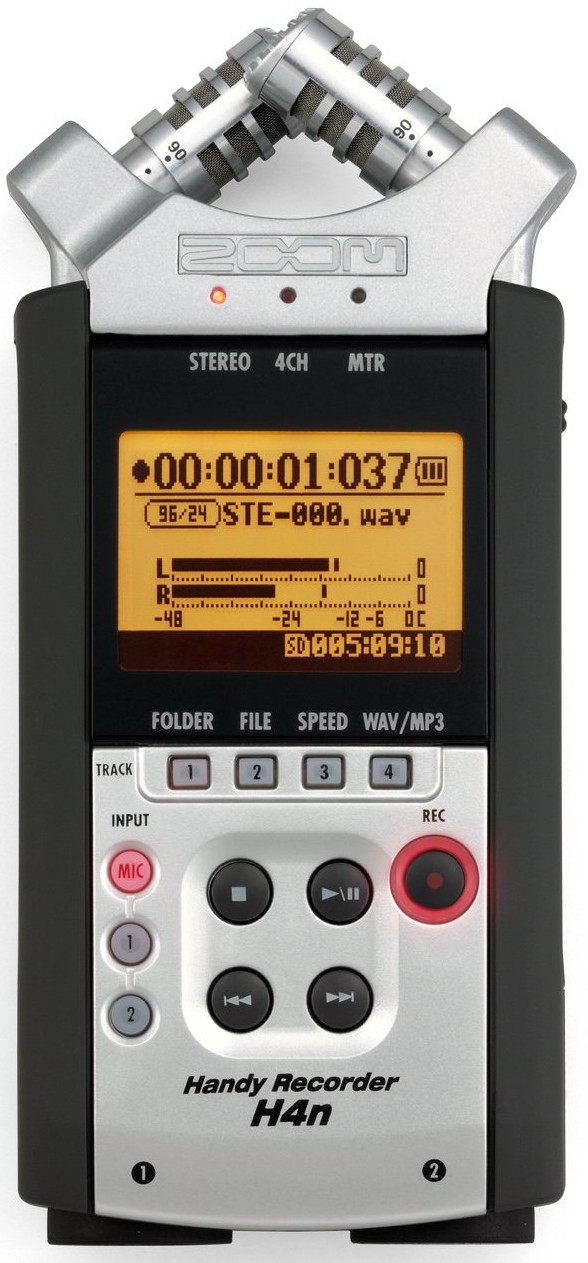
Zoom H4N Handy Recorder ($150-$200)
This is the recorder I own and use for everything I do. From recording interviews, to voice tracks, I feel it’s a great investment. Much like the H1, the microphones are in a stereo field position, but the H4N allows you to change the size of the recording field. The microphones pivot to have a 90 or 120-degree recording field, which make it good for interviews or field recording. Again, it does make some noise when handling, but does has a little absorbing rubber on the sides, but don’t count on that to help. It can record in mono or stereo and on the bottom, it has two XLR inputs to record from as well as an external mic input on the flip side. Comes with a foam windscreen, handle (mount on flip side), and plastic case.
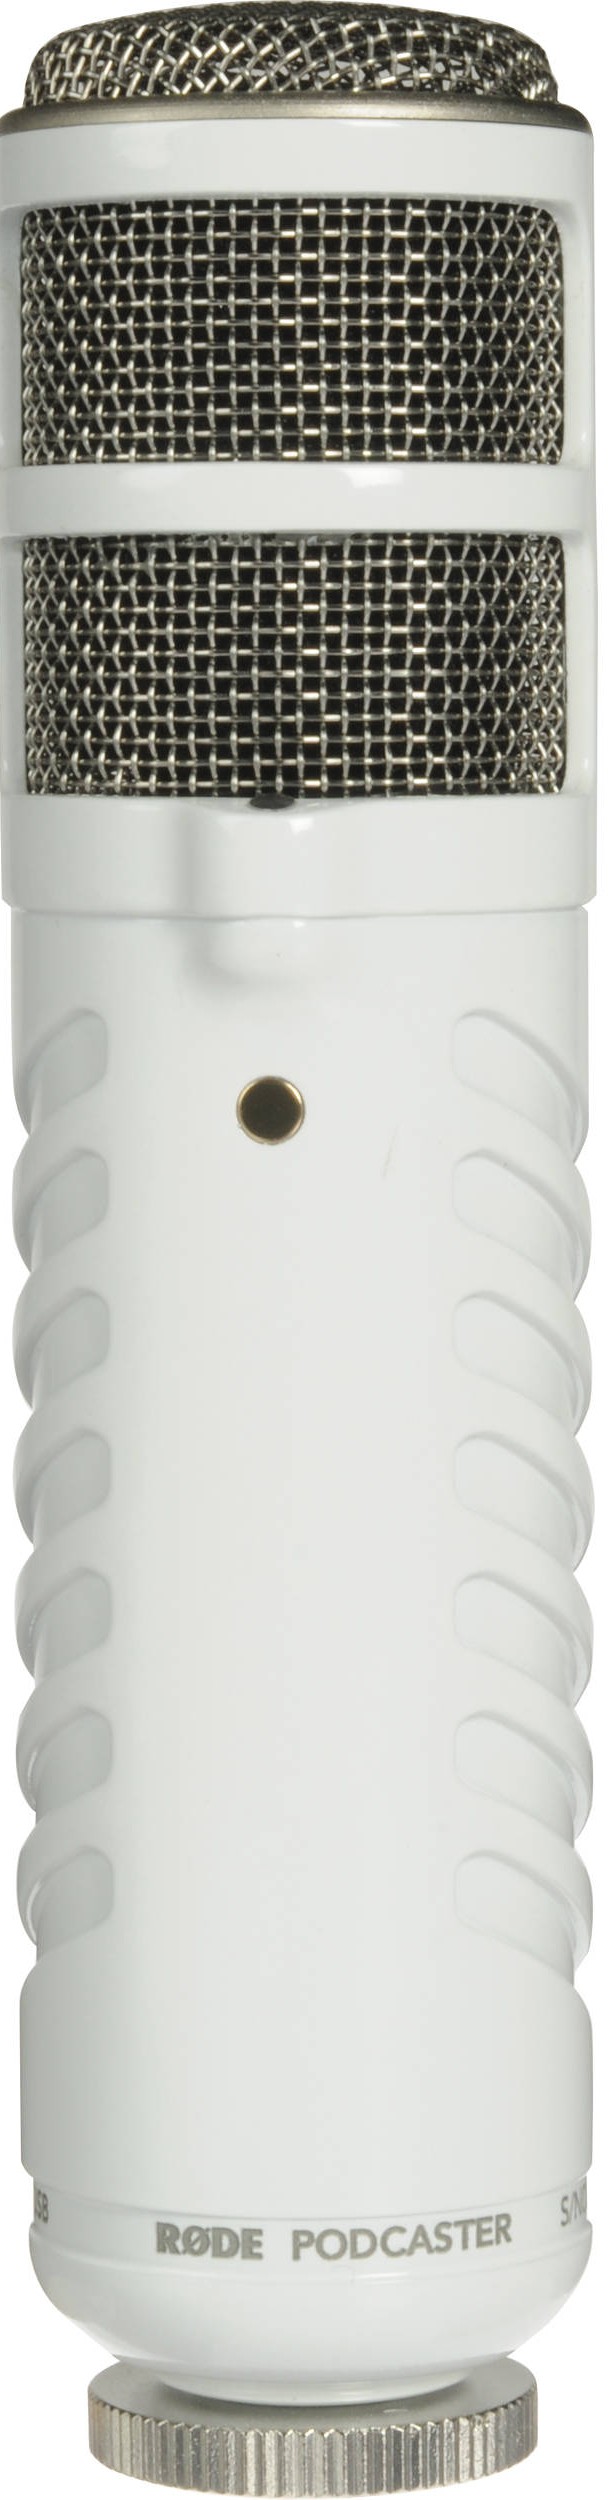
RØDE Podcaster Microphone ($200-$300)
If you want to jump right in the deep end, this may be a decent way to do it. It’s a studio-grade microphone, that has a USB cable to directly record into your computer. If you’ve ever seen a movie about radio, you’ve probably seen the RE20 microphone, and from what I’ve heard, this mic is pretty comparable. And really, it’s not terribly priced either. Pretty standard as far as broadcasting mics go — and it’s fully compatible with Windows 7, Windows 8 and Mac OS X computers, as well as several Linux distribution. It can also be used with an iPad to use when recording with iPad audio applications. Overall, pretty sweet — but again, more of an investment. Dive in if you feel you’re ready.
2: Audio Editing Software
It doesn’t matter how thrifty you are, you can still make radio pieces. You can spend anywhere from $0 to $500 and still churn out the same final product, but you need to question how valuable your time is, because some will certainly take you longer to manipulate than others. Here are three options you can choose from:
![]()
Audacity (Free)
This was the first program I ever edited on. While it’s super bare-bones, it does everything you need (and sometimes more, if you explore what else it can do). Pros: Multitrack ready, basic filters and generators, quick to learn, and compatible with Mac and PC. Cons: It’s finicky sometimes, making it difficult to make precise edits; you also need to switch tools constantly, and editing on one track is difficult. Overall, worth what you’re paying for it!
![]()
Reaper (Depends)
In full disclosure, I’ve never used this program, but have heard from multiple sources that it’s the Adobe Audition for the penny pincher. From what I’ve heard, it’s very intuitive and has all the bells and whistles more expensive programs have. Also, it has different price points for the different types of organizations using it (non-profit, commercial use, etc.), which is why it “depends”.
Adobe Audition ($200+)
This is the easiest audio program I’ve ever used. It’s insanely intuitive, easy to use and understand, and has been made even better by the use of the Adobe Creative Cloud. If you have an Audition session, you can work on it from any computer with Audition. A bit pricey depending on what you want, but well worth it. I invested in it early on and haven’t looked back. I’m a version behind, and haven’t had any issues.
3: Headphones
Really, any over-ear headphones will do the trick, so I’m only going to put one pair here because it’s reasonably priced and has features I like:
Sony MDR-7506 Headphones ($50-$150)
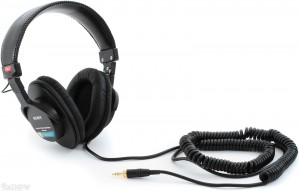 Depending on whether you get these new or used will drastically affect the price. Do some research and find the one that fits your budget, and also from a source you trust. They’re cheap(er) than most and durable. Reasons I like them: The coiled cable allows you to get some distance while still being plugged in. They’re comfortable and don’t press on your ears or head. They’re not noise-canceling.
4: A Sound-Absorbant Recording Space
A closet works best. I’m not kidding. Sit on the floor of a closet with stuff already hanging from hangers, or an empty closet with some blankets or pillows piled up, and towels hanging from hangers and you’re ready to go. You can also record at a desk, or table, but make sure you’re speaking toward a soft surface (like an upright pillow or couch cushion). It seems ridiculous, but you don’t need acoustic foam tiles for your wall to have a nice recording space. You can get those on amazon, but they’re not cheap.
5: Miscellaneous Accessories
There are a few extra things you can get to spruce up your gear, but while some are necessary, others aren’t at all. Use your judgement, check your pockets, and buy at will.
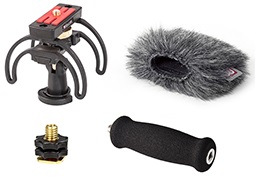 Rycote Audio Kit ($150-$200)
This kit, I see as essential. The handle absorbs any sound that may come from your hand movement, the shock mount is indestructible (seriously) and can tilt to allow you to switch your arm position, and the windscreen blocks wind *almost* completely (it goes over the foam one that comes with the recorder). All in all, pricey, but absolutely worth it. Available for H1, H2/H2N, and H4N.
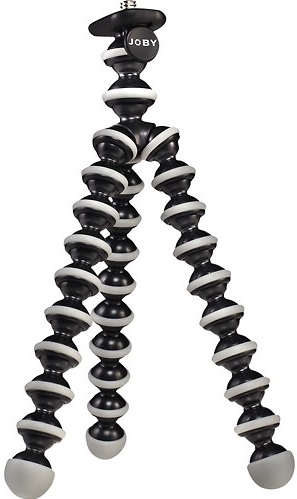 Joby Original GorillaPod ($20)
If you want to record yourself, you’re going to need a tripod and this one should be a contender in the one you choose to buy. It’s durable, portable, and can latch onto railings and such for easy recording (and it also works with a camera). Well worth the $20 investment, you may want to consider getting one in a larger size if need be.
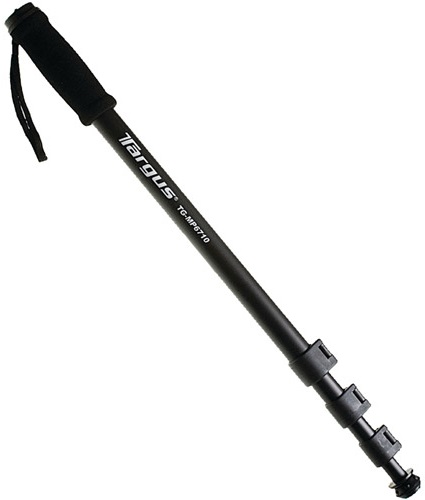 Targus MonoPod ($15)
Yes, this is intended for a camera, but I have one that I use as a makeshift boom pole and it works just fine. It may not be as sturdy as a boom, but I’m not holding it up above my head for hours on end. Usually I’m using it to get closer to a far away subject, or recording over a crowd or wall.
Monoprice Microphone Isolation Shield ($50-$200)
This is purely optional. If you don’t have a closet that works, or if you just have some money to burn investing in one of these is a lot of fun (I have the one pictured). They work great on dining room tables or in cubicles. Find the one you want, there are plenty of others to choose from.